
Cleaning a shower head with baking soda is an effective, eco-friendly way to remove buildup and restore water flow.
Over time, minerals and deposits from hard water can clog the spray holes, leading to reduced water pressure and potential bacterial growth.
Table of Contents
Here’s a step-by-step guide to cleaning your shower head using baking soda.
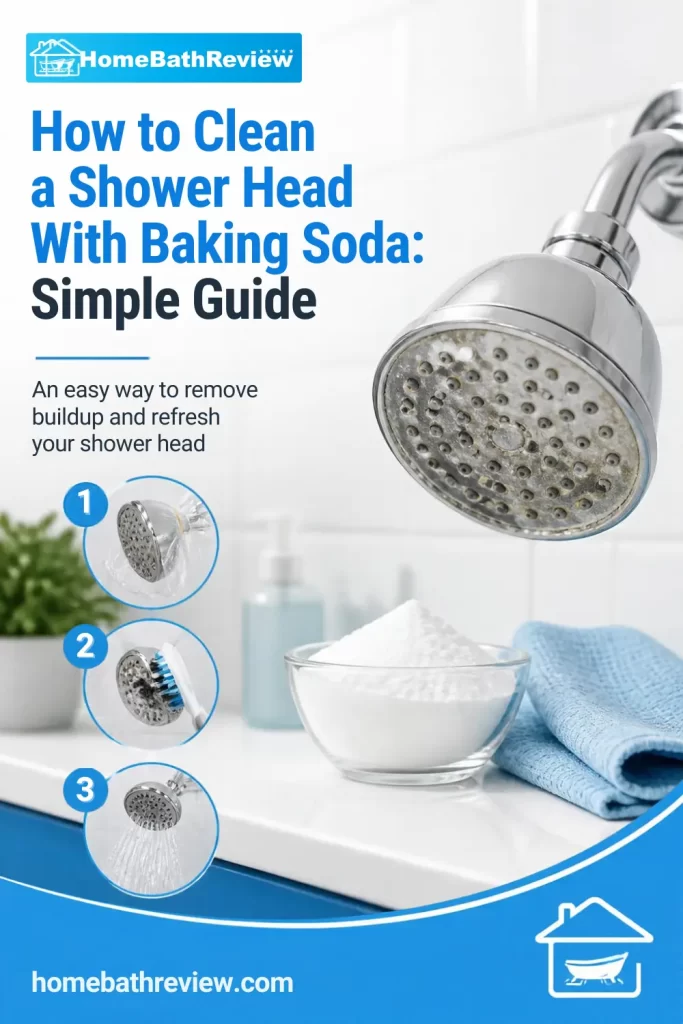
How to clean a shower head with baking soda?
Materials Needed:
- Baking soda
- White vinegar
- A plastic bag (if the shower head is not removable)
- An old toothbrush
- Rubber band or twist tie
- Soft cloth or sponge


Step 1: Remove the Shower Head (Optional)
If possible, remove the shower head to clean it more thoroughly.
If it’s fixed, you can still use this method, but it may be a bit more challenging to access all areas.
Step 2: Make a Baking Soda Paste
Mix 2-3 tablespoons of baking soda with a small amount of water until it forms a paste. Baking soda is a natural abrasive that helps lift grime and buildup without scratching the surface.
Step 3: Apply Baking Soda Paste
Apply the paste to the shower head, focusing on areas with visible mineral buildup. If the shower head is removable, place it in a bowl or sink.
For a non-removable shower head, use an old toothbrush to scrub the paste into the spray holes and surface.
Step 4: Use Vinegar for Extra Cleaning Power
Pour white vinegar into a plastic bag and attach it around the shower head if it’s fixed to the wall. Secure the bag with a rubber band or twist tie, ensuring the shower head is submerged.
The vinegar will react with the baking soda, loosening mineral deposits and dissolving tough buildup.
Step 5: Soak and Rinse
Allow the shower head to soak for at least 15-30 minutes, or even overnight for heavy deposits. After soaking, remove the bag and rinse the shower head with warm water. Use an old toothbrush to scrub any remaining buildup.
Step 6: Reattach and Run Water
If you removed the shower head, reattach it and turn on the water to flush out any loosened debris. Let the water run for a few minutes to clear out the spray holes fully.
Use a Shower Head Cleaning Tool to Unclog Nozzles

- Unclogging Showerhead Holes: This shower head cleaner tool provides an efficient and easy unclogging solution to help easily clear clogged shower holes and ensures uninterrupted waterflow
A shower head cleaning tool makes it easier to remove mineral deposits, limescale, and debris from clogged spray holes.
The Lumkew Multiplesize Shower Head Cleaner Tool is a practical option for maintaining a clean shower head and restoring a more consistent water flow.
This 20-piece set includes 10 different sizes of stainless-steel cleaning picks and 10 small nylon brushes designed to reach narrow nozzles and tiny openings.
The durable picks help dislodge stubborn buildup, while the conical brushes clean away residue from around the spray holes.
Each brush comes with a protective cap, and the compact storage boxes keep the tools organized between uses.
How to use it: Gently insert a suitably sized pick into a clogged nozzle to loosen debris, then use a nylon brush to remove remaining deposits.
Rinse the shower head thoroughly afterward. Avoid forcing the picks into the openings, as this could damage delicate rubber nozzles or the shower head finish.
For best results, use the tool during routine bathroom cleaning and combine it with occasional descaling when needed.
Always follow the shower head manufacturer’s cleaning instructions, particularly for delicate finishes and silicone spray nozzles.
Tips for Maintaining a Clean Shower Head
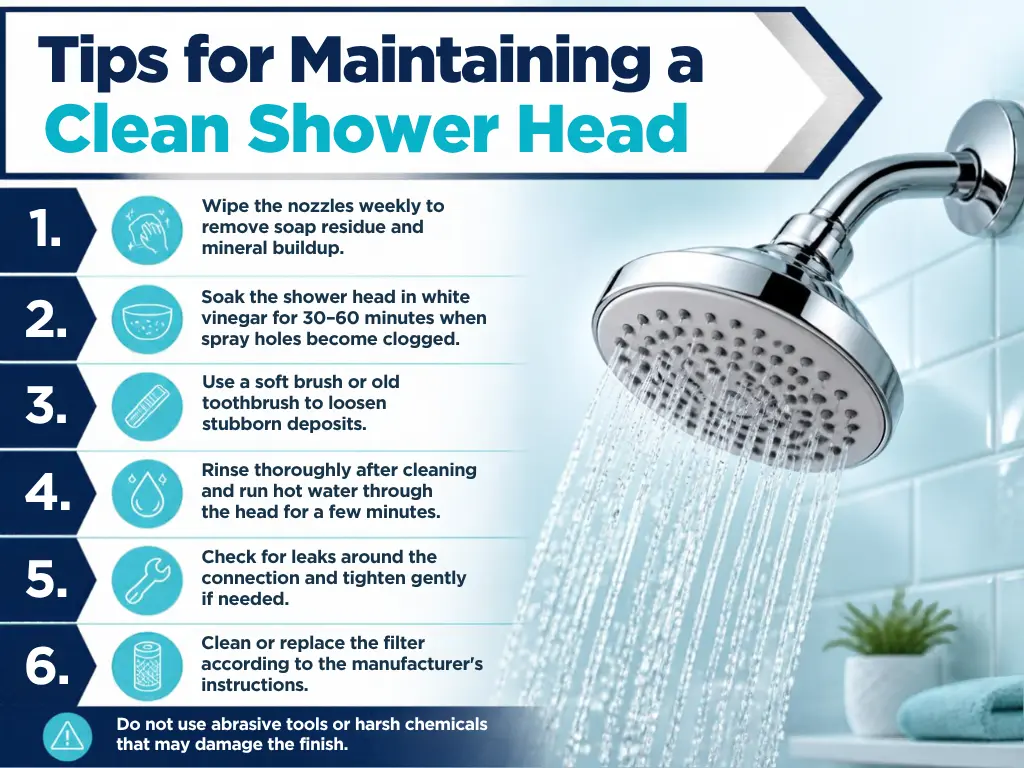
- Clean it regularly: Wipe your shower head with a soft cloth every week to remove soap residue, dirt, and mineral deposits.
- Remove limescale buildup: Soak a removable shower head in white vinegar for 30 minutes to an hour, if permitted by the manufacturer’s instructions. Rinse thoroughly afterward.
- Unclog the spray nozzles: Gently rub silicone nozzles with your fingers or use a soft toothbrush to loosen mineral deposits and restore even water flow.
- Prevent water spots: Wipe the shower head dry after use to reduce water spots and mineral buildup, especially in hard-water areas.
- Avoid harsh cleaners: Don’t use abrasive scrubbers, strong acids, or chemicals that could damage chrome, nickel, gold, or other finishes.
- Check for leaks: Inspect the connection between the shower head and shower arm periodically. Tighten connections carefully if necessary.
- Clean the filter screen: If your shower head has a removable filter or mesh screen, follow the manufacturer’s instructions to clean it and remove trapped debris.
- Maintain a regular schedule: Lightly clean your shower head weekly and perform a more thorough descaling every one to three months, adjusting the frequency according to water hardness and buildup.
Pro tip: If your shower head has a special finish, rubber nozzles, or a built-in filter, always check the manufacturer’s cleaning recommendations before using vinegar or other descaling products.
How often should you clean a shower head?
Regularly cleaning your showerhead is essential for maintaining good water flow, preventing bacterial buildup, and ensuring the longevity of your showerhead.
Showerheads can accumulate mineral deposits from hard water and even bacteria if left uncleaned, potentially impacting water pressure and hygiene.
Here’s a guide on how often you should clean your showerhead and tips to keep it in top shape.
How Often Should You Clean A Shower head?

In general, cleaning your showerhead every 1 to 3 months is recommended. However, this frequency may vary based on water quality and usage:
- Monthly Cleaning: Ideal for households with hard water, as mineral deposits build up quickly and can clog spray holes. Monthly cleanings help prevent buildup and keep water flow consistent.
- Every 2-3 Months: Suitable for homes with softer water or less frequent shower use. Cleaning every few months ensures the showerhead stays fresh without extensive buildup.
- Every 6 Months (Deep Clean): Even with regular maintenance, a deep clean every six months can help remove hard-to-see grime and bacterial residue.
Why Regular Showerhead Cleaning is Important
- Maintains Water Pressure: Mineral deposits can clog spray holes, reducing water pressure and flow.
- Prevents Bacterial Growth: Showerheads can harbor bacteria due to the damp environment, which can be unhealthy over time.
- Extends Showerhead Life: Regular cleaning reduces wear and tear caused by mineral deposits, prolonging the life of your showerhead.
- Enhances Shower Experience: Clean spray holes ensure water is distributed evenly, improving the overall showering experience.
Final Verdict
In conclusion, cleaning your shower head with baking soda is a safe, effective, and eco-friendly way to remove mineral buildup and restore water flow.
With just a few household ingredients and minimal effort, you can keep your shower head functioning optimally and prevent clogs.
Regular maintenance every few months will ensure a steady water stream, reduce bacteria buildup, and extend the life of your shower head, making your bathroom routine fresher and more enjoyable.
Frequently Asked Questions
1. Is pouring baking soda down the drain safe?
Yes, it’s safe to put baking soda down the drain. Baking soda helps clear minor clogs and neutralizes odors, especially when combined with vinegar.
2. How can you clean a shower head in the fastest way possible?
The fastest way to clean a shower head is to fill a plastic bag with white vinegar, secure it around the shower head, and let it soak for 15-30 minutes before rinsing.
3. What are the benefits of vinegar over CLR to clean a shower head?
Vinegar is a natural, non-toxic cleaner that’s safe for most surfaces, eco-friendly, and cost-effective, while CLR is stronger on tough mineral deposits but contains chemicals that may require more caution.
- Top 5 Best Handheld Shower Head for Pleasure
- How to Clean Shower Head Without Vinegar – Two Easy Ways To Explore
- Best Vitamin C Shower Filters Reviews With Benefits
- How To Clean Bathroom Mirror: Step-by-Step Guide + Dos and Don’ts