
For many of us, seeing green or black spots on bathroom walls and ceilings is a nightmare. Not only do they ruin the clean look of the bathroom, but they can also trigger allergic reactions like itching, sneezing, coughing, watery eyes, and more.
Luckily, you don’t have to live with mold forever. We’ve put together the steps on how to get rid of mold in bathroom ceilings and keep them from coming back.
Table of Contents
Why Does Your Bathroom Ceiling Have Mold?

Mold growth on bathroom ceilings is a common issue faced by many homeowners. Not only does it detract from the aesthetics of the space, but it can also pose health risks and indicate underlying moisture problems.
Understanding the causes of mold growth on your bathroom ceiling is essential for effective prevention and remediation.
- High Humidity Levels: One of the primary causes of mold growth on bathroom ceilings is high humidity levels. Bathrooms are typically high-moisture areas due to activities like showering and bathing. When warm, moist air comes into contact with cooler surfaces like the ceiling, condensation occurs, creating an ideal environment for mold to thrive.
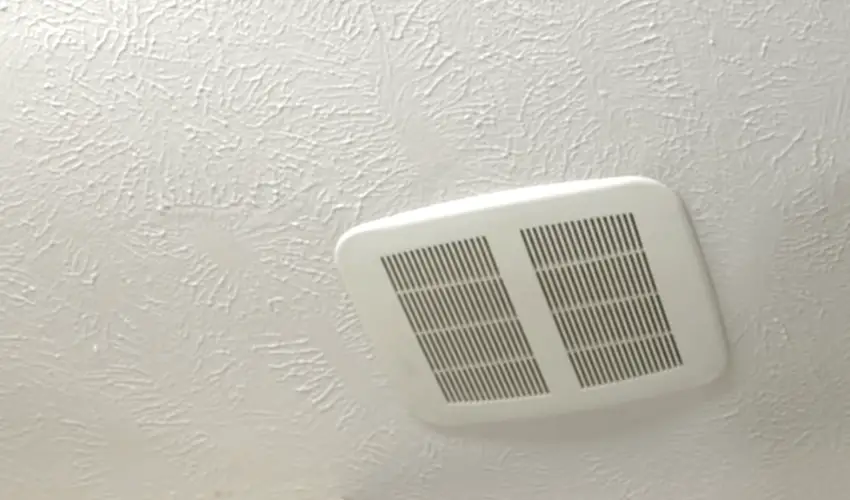
- Inadequate Ventilation: Poor ventilation exacerbates moisture buildup in bathrooms, contributing to mold growth. Insufficient airflow allows moisture to linger in the air and settle on surfaces, including the ceiling. Without proper ventilation, dampness becomes trapped, providing the perfect conditions for mold spores to germinate and spread.
- Leaks and Water Intrusion: Leaky plumbing fixtures, roof leaks, or water seepage from above can introduce moisture into the ceiling cavity, promoting mold growth. Even minor leaks, such as those from a leaking shower or bathtub, can lead to significant water damage over time if left unaddressed. Inspect your bathroom regularly for signs of leaks or water intrusion.
- Poorly Insulated Ceilings: Inadequate insulation in the ceiling can contribute to condensation and moisture problems. When warm, moist air from the bathroom comes into contact with a cold ceiling surface, condensation forms, providing an ideal breeding ground for mold. Proper insulation helps maintain consistent temperatures and reduces the risk of condensation.
- Lack of Regular Cleaning: Neglecting regular cleaning and maintenance allows dirt, dust, and soap scum to accumulate on the bathroom ceiling. These organic materials provide nutrients for mold growth when combined with moisture. Regularly clean your bathroom ceiling with appropriate cleaning solutions to prevent mold buildup.
- Structural Damage: Structural issues such as roof leaks, damaged flashing, or compromised waterproofing membranes can result in water infiltration into the ceiling space. Over time, accumulated moisture can lead to mold growth and structural deterioration. Address any signs of structural damage promptly to prevent mold-related problems.
- Poorly Sealed Grout and Caulking: Damaged or deteriorated grout and caulking around bathroom fixtures, such as showers and bathtubs, can allow water to seep into the walls and ceiling. Moisture trapped behind tiles or in the ceiling cavity provides an ideal environment for mold growth. Inspect and repair grout and caulking regularly to prevent water infiltration.
Types of Mold in Homes
It is also important to figure out the type of mold growing on your bathroom ceiling. Molds that thrive in houses are classified into three categories:
- Allergenic Molds
These are the most common type of mold, and they can be removed with home disinfecting products.
- Pathogenic Molds
These can also be controlled using household cleaners, but large infestations may require professional removal.
- Toxic Molds
These are the most harmful, so they need to be addressed professionally.
How To Get Rid of Mold in Bathroom Ceiling
Once you’ve figured out the cause of the mold in your bathroom, it’s time to roll up your sleeves and tackle it.
Follow these steps on how to get rid of mold in bathroom ceilings:
Step 1: Prep Your Cleaning Gear and Supplies
Removing mold is serious business, so make sure to grab some safety supplies before you start, such as:
You will also need the following tools and supplies:
- Cleaning solution
- Vinegar
- Mild detergent
- Bleach
- Bucket
- Cleaning brush
- Step ladder
- Spray bottle
- Microfiber cloth
- Sponge
- Soft-bristled brush
- Dishwashing liquid
Before you start, close off vents to prevent mold spores from spreading to other areas of your home.
You can open a window to ventilate your bathroom and speed up the drying process.
Step 2: Gear Up
First of all, put on protective gear. It’s best to wear old clothes you won’t mind being splattered with bleach.
Then, put on a face mask, goggles or protective eyewear, and a pair of gloves.
Inhaling mold spores can cause allergic reactions like coughing and wheezing, so make sure you are fully protected.
Step 3: Wash the Moldy Area

Using a sturdy step ladder, wash the affected area with dishwashing liquid and warm water.
You can also use a commercial mold cleaner if you like, but mild detergent should be enough in most instances.
Spray it all over the infected area, then scrub the mold off with a long-handle scrub brush.
Step 4: Apply Bleach
To kill the mold, you need a strong cleaning agent such as bleach.
Mix one part of bleach to three parts of water and then transfer the mixture into a bottle spray. Thoroughly saturate the moldy areas in your ceiling.
Open a window or keep a fan running as you work because bleach fumes are unpleasant and can irritate your nose and lungs.
Let the bleach soak into the mold for at least 20 minutes before scrubbing it off with a brush.
Keep brushing the affected area until the stain is gone.
If the stains are extensive, you may need to repeat the process a few times to remove all discoloration.
Step 5: Spray White Vinegar
Bleach works well in killing mold on the surface and removing unsightly marks. However, it doesn’t penetrate deep into the drywall to destroy the mold roots.
As such, the problem is likely to occur after a few days or weeks.
Luckily, there is an easy and inexpensive solution to tackle mold growth beneath the surface—spraying vinegar onto the affected area.
Hydrogen peroxide is another excellent mold removal remedy you probably already have at home.
Just put a three-percent concentration of hydrogen peroxide into a spray bottle, apply it to the moldy area, and let it soak for 15 minutes. Then, scrub it lightly with a cloth or brush.
Step 6: Treat the Ceiling
After cleaning the ceiling, you want to treat it to eliminate any remaining spores and prevent the mold from coming back.
To do this, you need a borate-based solution, such as borax.
Apply the solution to the affected area and do not rinse it. Borates not only help control bacteria and fungi but also help eliminate stains.
Use Instant Mold Remover For Mold In Bathroom Ceiling
Save time and labor by using a commercial mold cleaner, we recommend RMR-86 Instant Mold and Mildew Stain Remover Spray – Scrub Free Formula, 32 Fl Oz available on Amazon.
Spray it all over the infected area, then watch the mold dissolve without scrubbing.
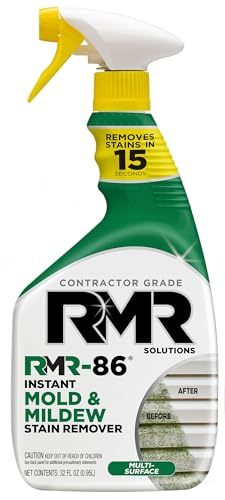
- GET RID OF STUBBORN MOLD AND MILDEW STAINS: Our instant spray cleaner removes the stains left behind from black mold and mildew. They tend to leave behind ugly staining that can go deep below the surface
The RMR-86 Instant Mold and Mildew Stain Remover Spray is an efficient solution for removing unsightly mold and mildew stains, particularly on bathroom ceilings where humidity tends to cause persistent issues. This powerful scrub-free formula quickly dissolves stains without requiring heavy labor, making it a top choice for busy homeowners.
Features:
- Scrub-Free Formula: Just spray and watch as it works in seconds to remove mold and mildew stains without scrubbing.
- Fast-Acting: Its powerful formula eliminates stains almost instantly, providing visible results within minutes.
- Versatile Application: Suitable for various surfaces like tiles, grout, ceilings, and even drywall.
- 32 Fl Oz Size: Offers enough product for multiple treatments in different areas of the home.
Pros:
- Highly Effective: Quickly removes tough stains from mold and mildew, especially in high-humidity areas like bathrooms.
- Time-Saving: No scrubbing needed, which makes it ideal for ceilings or hard-to-reach areas.
- Easy to Use: Simply spray on the affected area, let it sit, and watch the stains disappear.
Cons:
- Strong Smell: The chemical odor can be overwhelming; it is recommended to use safety gear and ensure proper ventilation.
- Surface Sensitivity: May discolor some surfaces, especially if left on for too long. A patch test is advised before widespread use.
Important Gear:
Removing mold with an instant mold remover is serious business, so make sure to grab these essential safety supplies before you start:
Verdict:
For anyone looking to tackle stubborn mold and mildew on their bathroom ceilings, RMR-86 delivers fast, effective results without the need for scrubbing. While the smell can be strong and care should be taken on delicate surfaces, its performance makes it one of the best mold removers on the market.
How To Prevent Mold in Bathroom Ceiling
Preventing mold on your bathroom ceiling requires controlling moisture, improving airflow, and practicing regular maintenance. Here are the most effective ways to stop mold before it starts:
Improve Ventilation
- Use an exhaust fan during and for at least 20–30 minutes after showers or baths.
- Open windows and doors to allow air circulation and reduce humidity.
- Keep vents clean and clear to ensure proper airflow.
Reduce Humidity
- Install a dehumidifier if your bathroom tends to stay damp.
- Keep indoor humidity levels below 50% using a hygrometer to monitor.
- Wipe down wet surfaces (like mirrors, tiles, and ceilings) after each use.
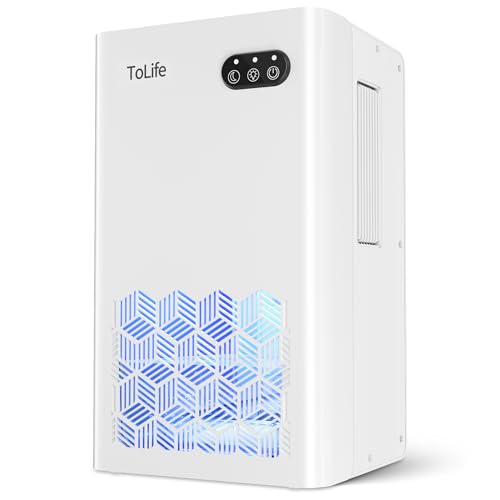
The ToLife Dehumidifier offers excellent moisture control in bathrooms and other small to medium-sized spaces for under $70—making it an affordable and practical choice to help prevent mold on your ceiling and walls.
This unit features advanced semiconductor condensation technology, allowing it to quietly pull moisture from the air without disrupting your day (or night). It’s compact, yet it covers up to 1,000 sq. ft., ideal for bathrooms, bedrooms, basements, or even travel trailers.
We love the dual-mode operation, with a powerful mode for fast moisture removal and a low-noise sleep mode (under 30 dB) for quiet nighttime use. The 95 oz water tank is generous for its size and only needs to be emptied every few days. Plus, the auto shut-off prevents overflows—a crucial safety feature in bathrooms.
Its 7-color LED light adds a fun and functional twist, doubling as a cozy nightlight.
Pros:
- Covers up to 1,000 sq. ft.
- Quiet (<30 dB) sleep mode
- Large 95 oz tank with auto shut-off
- Attractive LED nightlight with color options
- Compact and portable design
- Great value for the price
Cons:
- Not ideal for extremely high-humidity areas like laundry rooms
- Requires manual tank emptying (no hose outlet)
Why We Recommend It:
For under $70, the ToLife dehumidifier is an affordable, energy-efficient, and stylish solution to keeping bathroom humidity in check—effectively reducing the risk of mold on ceilings and other damp-prone surfaces.
Use Mold-Resistant Products
- Apply mold-resistant paint or primer to ceilings and walls. We recommend using the Zinsser Mold Killing Water-Based Primer.
- Use moisture-resistant drywall (greenboard or cement board) in high-humidity areas.
- Choose mildew-resistant caulk around tubs and sinks.
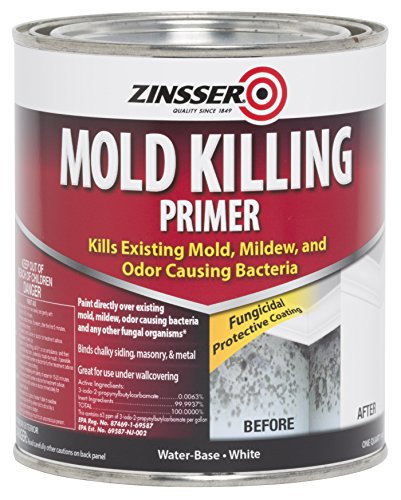
- Kills existing mold, mildew, and odor causing bacteria without extensive pre‐cleaning
Fix Leaks Quickly
- Repair leaky plumbing or roof issues immediately.
- Check for water stains or bubbling paint on the ceiling as early signs of hidden leaks.
Clean Regularly

- Clean your bathroom weekly using anti-mold or vinegar-based cleaners.
- Pay special attention to corners, grout lines, and ceiling edges where mold often starts. We recommend using this ceiling and wall mop to make things easier.

- ERGONOMIC EVA ANTI-SKID SPONGE HANDLE: The sponge handle of this wall mop is made of high-quality eco-friendly eva material, matte textured surface, with good anti-slip effect, soft and high elasticity, ergonomic design, provide you with a more comfortable grip.
Keep Shower Curtains and Doors Open
- After use, leave curtains or doors open to let them dry fully and reduce trapped moisture.
By following these steps, you’ll create an environment where mold can’t thrive—saving yourself time, money, and health concerns.
When To Call a Mold Removal Specialist
While you can get rid of the mold on the surface, eliminating mold spores and keeping them contained can be tricky for some homeowners.
If the mold covers an area of more than 10 square feet or about the size of a bath towel, this indicates a serious infestation.
In that case, you should consider calling a mold removal specialist.
Mold professionals are trained and equipped with the right tools and knowledge to deal with all sizes of mold growth.
Aside from cleaning the mold, they can also track down where all the moisture is coming from.
Frequently Asked Questions
Is mold on bathroom ceiling harmful?
Yes, mold on a bathroom ceiling can be harmful. It can cause respiratory issues, allergies, and other health problems, especially for people with sensitivities or weakened immune systems. Addressing mold promptly is important to maintain a safe and healthy environment.
Why does mold on my bathroom ceiling keep coming back?
Mold on your bathroom ceiling keeps returning due to excess moisture, inadequate ventilation, and high humidity levels. To prevent it, improve airflow, reduce moisture with a fan or dehumidifier, and address any water leaks or condensation issues.
Can I paint over bathroom ceiling mold?
You can paint over bathroom ceiling mold, but it’s not a permanent solution. First, clean and remove the mold using a mold-killing cleaner, then apply a mold-resistant primer and paint to help prevent future growth. However, addressing the underlying moisture issue is essential for long-term prevention.
Get Rid of Mold For Good
With these steps, you should be able to eliminate mold in your bathroom ceilings.
You can also apply the same steps to your shower, sink, walls, and other surfaces that have mold growth.
Make sure to address the root cause of the mold buildup so that it doesn’t grow back once you’ve cleaned the surface.
Lastly, if the infestation is too large for you to handle, get in touch with a mold removal specialist who can tackle all sorts and sizes of mold growth.