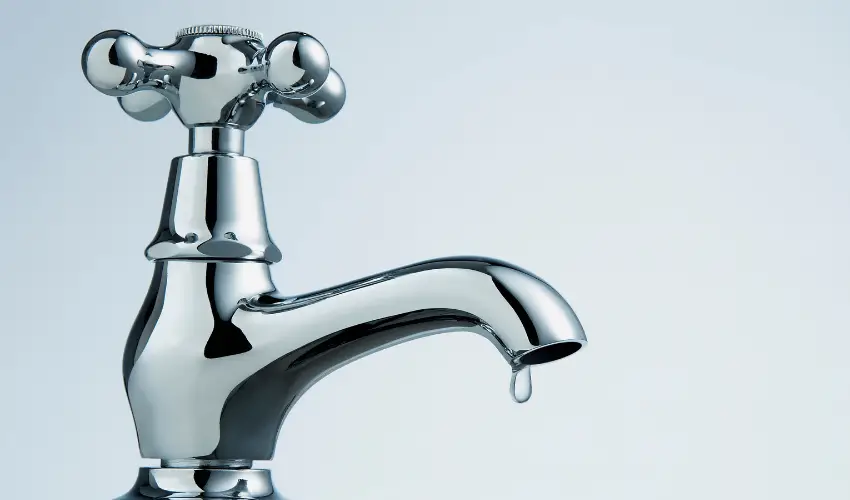
Here’s a simple 7-step guide to help you fix a leaky faucet. Addressing leaks promptly saves water, prevents higher water bills, and stops small problems from becoming big issues. Most repairs can be completed with basic tools and materials, making this a straightforward DIY project.

Tools and Materials Needed
- Tools: Adjustable wrench, Phillips and flathead screwdrivers, pliers, hex key set, and plumber’s tape.
- Materials: Replacement washers or O-rings, faucet-specific replacement parts, and a cleaning cloth.
Step 1: Turn Off the Water Supply
Before starting any repairs, turn off the water supply to the faucet. Look under the sink for shut-off valves, or turn off the main water valve if needed. Turn on the faucet to drain any remaining water.
Step 2: Plug the Drain
Place a sink plug or a towel in the drain to catch any small parts that might fall during the repair.
Step 3: Remove the Faucet Handle
Use a screwdriver or hex key to remove the screw that secures the handle. Pull the handle off carefully to reveal the inner components. If it’s stuck, gently wiggle it or use a small amount of lubricant.
Step 4: Take Out the Cartridge or Stem
Depending on your faucet type, you’ll either find a cartridge or a stem. Use a wrench to carefully unscrew or pull out this part, which controls water flow and is often the source of the leak.
Step 5: Inspect and Replace Worn Parts
Check for any worn or damaged washers, O-rings, or cartridges. If these parts are damaged, they’re likely causing the leak. Take them to a hardware store if you need help finding replacements.
Step 6: Reassemble the Faucet
Once you’ve replaced any damaged parts, reassemble the faucet in the reverse order of how you took it apart. Ensure each part is securely fitted to avoid additional leaks.
Step 7: Turn On the Water and Test
Turn the water supply back on and test your faucet by turning it on and off a few times. Check for any remaining leaks. If everything is dry, your faucet repair is complete!
Tips for Success
- Use Plumber’s Tape: For added security, wrap plumber’s tape around threads before reassembling.
- Know Your Faucet Type: Identify if your faucet is compression, cartridge, ball, or ceramic disk as it helps in finding replacement parts.
- Stay Organized: Keep screws and small parts in a safe place so reassembly is easier.
Types of faucets and how to repair them
Reasons Why You Have A Leaky Faucet

A leaky faucet is a common household issue that can waste gallons of water and increase your utility bills if left unchecked. Understanding why your faucet is leaking can help you fix it quickly and prevent similar problems in the future. Here are the main reasons why your faucet may be leaking.
1. Worn-Out Washers
Washers sit inside the faucet to prevent water from leaking out when it’s turned off. Over time, the constant friction from turning the faucet on and off wears down the washer, leading to leaks. Compression faucets, in particular, are more prone to washer issues. Replacing the washer is usually an easy fix that stops the leak.
2. Damaged O-Rings
O-rings are small rubber rings typically found on cartridge faucets, helping to keep a tight seal around the faucet stem. Over time, they can wear out, crack, or loosen, which allows water to seep out. Replacing damaged O-rings is straightforward and can often resolve the leak.
3. Corroded Valve Seat
The valve seat is the part of the faucet that connects the spout to the cartridge or stem. If it corrodes due to mineral deposits from hard water, it can create a leak around the spout area. Periodic cleaning and replacing a corroded valve seat can prevent or fix this issue.
4. Loose Parts
Over time, frequent use of your faucet can cause some parts, such as the adjusting ring or packing nut, to loosen. This loosening can lead to drips or leaks around the handle or spout. Tightening or replacing these parts is a quick way to fix the leak.
5. High Water Pressure
Excessively high water pressure can cause faucet leaks, particularly if the faucet only leaks at certain times (like at night). High water pressure strains the faucet’s seals and other components, which can lead to leaks. If this is the case, you might need a plumber to adjust your home’s water pressure.
6. Broken or Worn-Out Cartridge
In cartridge faucets, a faulty or worn-out cartridge is one of the most common causes of leaks. The cartridge is the piece responsible for controlling water flow. If it’s damaged or worn, water can escape even when the faucet is turned off. Replacing the cartridge is a common repair that typically solves the problem.
7. Hard Water Buildup
Hard water contains minerals like calcium and magnesium that can build up in your faucet over time. This buildup can clog valves, cause corrosion, or block the faucet’s inner workings, leading to leaks. Installing a water softener can reduce hard water effects, while regular cleaning can prevent buildup in faucets.
8. Improper Installation
If a new faucet is leaking, it might be due to improper installation. Incorrectly fitting washers, O-rings, or cartridges can lead to a poor seal and result in leaks. Ensuring each part is correctly installed can prevent leaks and extend the faucet’s life.
Preventing Faucet Leaks
While faucet leaks are common, regular maintenance and timely repairs can help prevent them. Here are some tips:
- Clean Regularly: Regularly cleaning your faucet and its components prevents mineral buildup and corrosion.
- Check for Leaks Often: Early detection of a minor leak allows you to fix it before it becomes a larger problem.
- Use Quality Parts: Invest in high-quality washers, O-rings, and other faucet parts to ensure durability and reduce the likelihood of leaks.
Understanding the reasons behind a leaky faucet can save you time and effort when it comes to repairs. From worn-out washers to high water pressure, identifying the root cause is the first step to solving the problem. By addressing the issue promptly, you can extend the life of your faucet and maintain a leak-free household.
Frequently Asked Questions
1. How do I stop a faucet from dripping?
To stop a faucet from dripping, first turn off the water supply, then disassemble the faucet to check for worn washers, damaged O-rings, or a faulty cartridge. Replace any worn parts, reassemble the faucet, and turn the water back on to test for leaks.
2. What is the most common cause of a leaky faucet?
The most common cause of a leaky faucet is a worn-out washer or O-ring, which can cause water to drip from the faucet even when it’s turned off.
3. Can a leaky faucet be repaired?
Yes, a leaky faucet can typically be repaired by replacing worn parts like washers, O-rings, or cartridges.
Conclusion
Fixing a leaky faucet is often an easy task that can save you from high water bills and water damage. With these seven steps, you’ll have your faucet leak-free and working efficiently in no time!
Related Posts
- Best Brushed Nickel Bathroom Faucets: Comprehensive Guide
- Top 4 Best Bathtub Faucets: Reviews and Buyers Guide
- How to Replace a Two Handle Bathtub Faucet – Five Easy Steps to Follow
- Best Black Bathroom Fixtures; Ultimate Guide
