
A leaking toilet is one of the most common—and frustrating—household plumbing problems.
Whether it’s water pooling around the base or a constant trickle into the bowl, the issue can waste water, inflate your utility bill, and lead to serious water damage if left untreated.
The good news? Most toilet leaks can be fixed easily with a few tools and some basic know-how.
Table of Contents
Here’s your comprehensive guide on how to identify and fix a leaking toilet, step by step.
How to Fix a Leaking Toilet
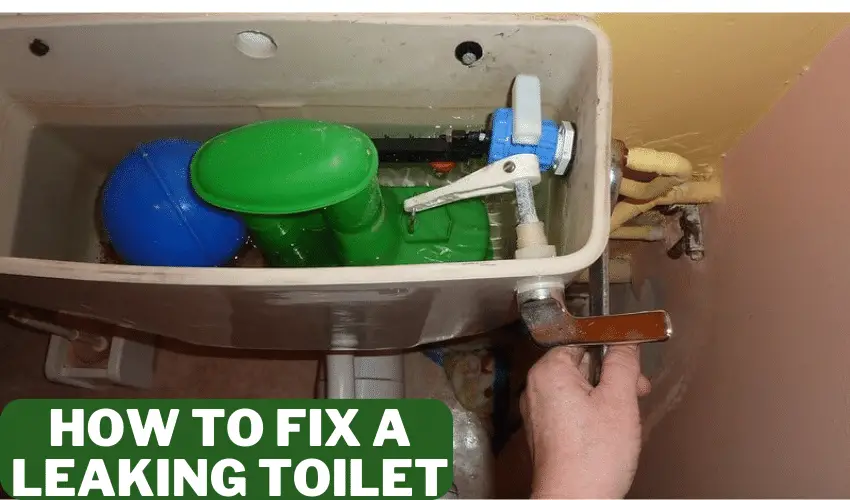
Step 1: Identify the Source of the Leak
Before you grab your wrench, determine where the leak is coming from. Common leak points include:
- Base of the toilet
- Tank-to-bowl connection
- Inside the tank (flapper valve or fill valve issues)
- Water supply line or shutoff valve
Tip: Add food coloring to the tank and wait 30 minutes without flushing. If the bowl water changes color, the flapper is likely the issue
Step 2: Turn Off the Water Supply
Locate the shutoff valve behind the toilet near the floor. Turn it clockwise until it stops. Flush the toilet to drain the tank and bowl. Use a sponge or towel to remove any remaining water in the tank.
Step 3: Fix Common Toilet Leaks
A. Leaky Flapper Valve

Symptoms: Toilet runs constantly or water trickles into the bowl.
What You’ll Need:
- Replacement toilet flapper
- Sponge or towel
- Rubber gloves (optional)
- Scissors (if trimming chain length)
Step-by-Step Instructions:
Step 1: Turn Off the Water Supply
Locate the shut-off valve behind the toilet (near the floor) and turn it clockwise until it stops. Flush the toilet to drain most of the water from the tank.
Step 2: Remove the Old Flapper
- Open the tank lid and set it aside carefully.
- Locate the flapper valve at the bottom of the tank. It’s a rubber piece attached to the overflow tube and connected to the flush chain.
- Unclip or unhook the flapper from the sides of the overflow tube.
- Detach the chain from the toilet handle arm.
Step 3: Clean the Valve Seat
With the old flapper removed, check the valve seat (the hole where the flapper seals).
- Use a sponge or cloth to wipe away any debris or mineral buildup that might prevent a good seal.
- If the seat is cracked or damaged, you may need a flapper repair kit with a seat ring.
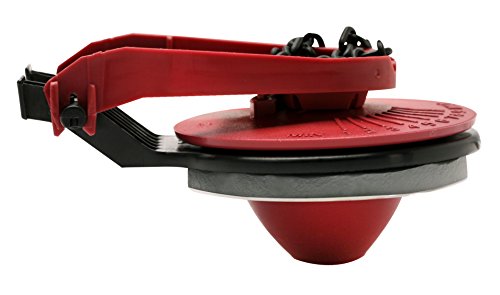
- Universal Design, fast and easy-to-install
Step 4: Install the New Flapper
- Clip the new flapper onto the overflow tube (most models use ears or a ring-style attachment—match your old style).
- Connect the chain to the flush lever arm.
- Leave about ½ inch of slack—not too tight or too loose. This ensures the flapper lifts and seals properly.
Step 5: Turn the Water Back On
Slowly turn the shut-off valve counterclockwise to restore water flow to the tank. Let the tank fill, then test the flush:
- The flapper should lift smoothly, allow the tank to drain, then close securely.
Test for Leaks:
Wait a few minutes after the tank refills. If you still hear water trickling or the toilet runs intermittently:
- Make sure the chain isn’t too tight or caught.
- Double-check that the flapper is aligned and sealing fully.
Pro Tip:
You can test for a slow leak by adding a few drops of food coloring to the tank. Wait 30 minutes without flushing—if the bowl water changes color, the flapper isn’t sealing properly
B. Faulty Fill Valve
Symptoms: Hissing sounds, tank overfills, or slow refill.
Solution:
- Remove the old fill valve (usually held with a locknut underneath the tank).
- Install a universal fill valve, adjusting the height as needed.
- Reconnect the water supply line and test the valve.

- Fix noisy, or slow filling fill valves with the quietest, most powerful toilet fill valve available
C. Leaking Between Tank and Bowl
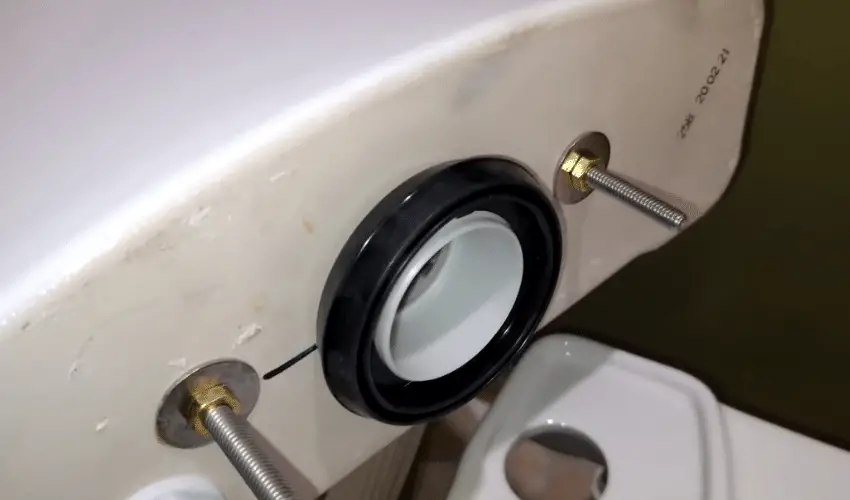
Symptoms: Water leaks when flushed, puddles form near the base.
Solution:
- Tighten the tank bolts gently using a wrench.
- If the leak persists, drain the tank and remove it.
- Replace the tank-to-bowl gasket and washers.
- Reinstall the tank and tighten bolts evenly.
D. Leak at Toilet Base
Symptoms: Water on the floor around the toilet.
Solution:
- Remove the toilet by unscrewing the floor bolts.
- Replace the wax ring (or go for a modern wax-free seal). We recommend the Korky 6000BP Universal Toilet WaxFree Seal.
- Reinstall the toilet and tighten the bolts evenly—do not overtighten.
- Turn water back on and test for leaks.
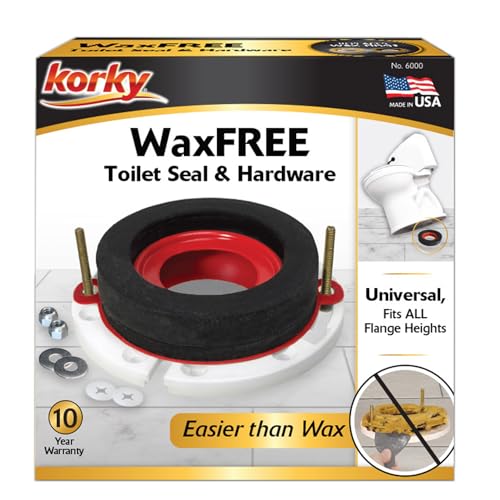
- NO WAX, NO MESS - The easiest way to install a toilet seal ring & fix leaks
E. Leaking Water Supply Line

Symptoms: Water dripping from hose or shutoff valve.
Solution:
- Tighten the compression nut on the supply line.
- If the line is old or cracked, replace it with a flexible braided line.
- Check the shutoff valve—if it leaks, it may also need replacing.

- FLUIDMASTER click seal toilet connector 3/8 in Compression x 7/8 in ballcock 12 in length lead free
Step 4: Turn the Water Back On
Once you’ve made the necessary repairs, slowly turn the shutoff valve counterclockwise to restore water flow. Allow the tank to fill, then flush and observe carefully for any signs of leaks.
Step 5: Monitor and Test
Check all seals, joints, and the floor area over the next few hours. If everything stays dry and the toilet functions normally, congratulations—you’ve fixed the leak!
When to Call a Plumber
If you’ve tried the above and your toilet still leaks, or if the base feels unstable, you may need professional help. Persistent leaks can indicate deeper issues like cracked porcelain or plumbing faults.
Final Words
Fixing a leaking toilet can be a straightforward DIY project that saves you money and prevents further damage. With the right tools, replacement parts, and a little patience, most issues can be resolved in under an hour.
Frequently Asked Questions
What is the most common reason a toilet leaks?
The most common cause of a toilet leak is a worn-out or misaligned flapper valve inside the tank. When the flapper doesn’t seal properly, water continuously escapes from the tank to the bowl, causing the toilet to run. Other common culprits include a faulty fill valve, cracked tank-to-bowl gasket, or loose supply line connections.
How do I know if my toilet flapper is leaking?
A simple test is the food coloring method:
Add a few drops of food coloring into the toilet tank.
Wait 20–30 minutes without flushing.
If colored water appears in the toilet bowl, your flapper is leaking and should be replaced.
Why does my toilet keep running even after flushing?
A constantly running toilet usually means one of these:
The flapper valve isn’t sealing properly.
The flush chain is too tight or tangled.
The float is set too high, causing the water to rise above the overflow tube.
The fill valve is defective and needs replacing.
Adjusting or replacing these components can stop the continuous running.
Can I fix a leaking toilet myself, or should I call a plumber?
Many toilet leaks—especially those involving the flapper, fill valve, or supply line—are easy DIY repairs. With basic tools and a bit of guidance, most homeowners can handle these fixes in under 30 minutes. However, if you suspect cracked porcelain, leaks from the base, or severe internal damage, it’s best to call a licensed plumber.
How much water does a leaking toilet waste?
A leaking toilet can waste hundreds of gallons per day—up to 6,000 gallons per month in some cases, depending on the severity of the leak. This can significantly increase your water bill. Fixing leaks promptly saves both water and money.